Table of Content
The fact that beer has been brewed in open containers for a long time allows you to make it without an airlock. However, if you’re making your own brews at home, a balloon as an airlock is far more cost effective and simple to use than purchasing an airlock. The screw cap is the most common type of wine closure in Austria, Australia, and New Zealand. This can be attributed to the New Zealand screw cap initiative, which encourages the use of screw caps instead of cork.
If you’re planning to pre make your wax seals, we also recommend our Wax Seal Makers Mat as the perfect surface to create pre-made seals or to practice on. Now you know that I take the temperature of the melted wax very seriously. It’s time to talk about when is the right time to make an impression. It is easy to stamp the melted wax once you pour it out, but different temperatures can actually help you achieve different effects. The whole point of making your wax seal stamp is being more in control of how it looks and this is what this DIY homemade wax seal tutorial gives to you.
Step 7: Mixing in the Dye
Place the cork over the bottle at an angle with the wax paper by wrapping it around it. Hold the bottle firmly and gently insert the cork, which should be gently rolled back into place. Twist the wax paper at the beginning and end to avoid wrinkles. Simply press the bottle firmly until the cork is completely inserted. If you used a wax stick with a wick, then you might need to ‘hide’ a little bit of soot when stirring, too. You can trim the wick after every use to reduce soot issues.
And the wax can drip onto a disposable lighter. In fact, wax seal enthusiasts actually recommend using a butane torch lighter with traditional wickless sticks to avoid these problems — not a move the amateur sealist will likely take. The volume of letters mailed increased fivefold, and along with this boom, a burgeoning envelope industry emerged. At first they were handmade by stationary clerks, 25 at a time, but these painstakingly assembled envelopes did not include adhesive…the stationery stores also sold sealing wax!
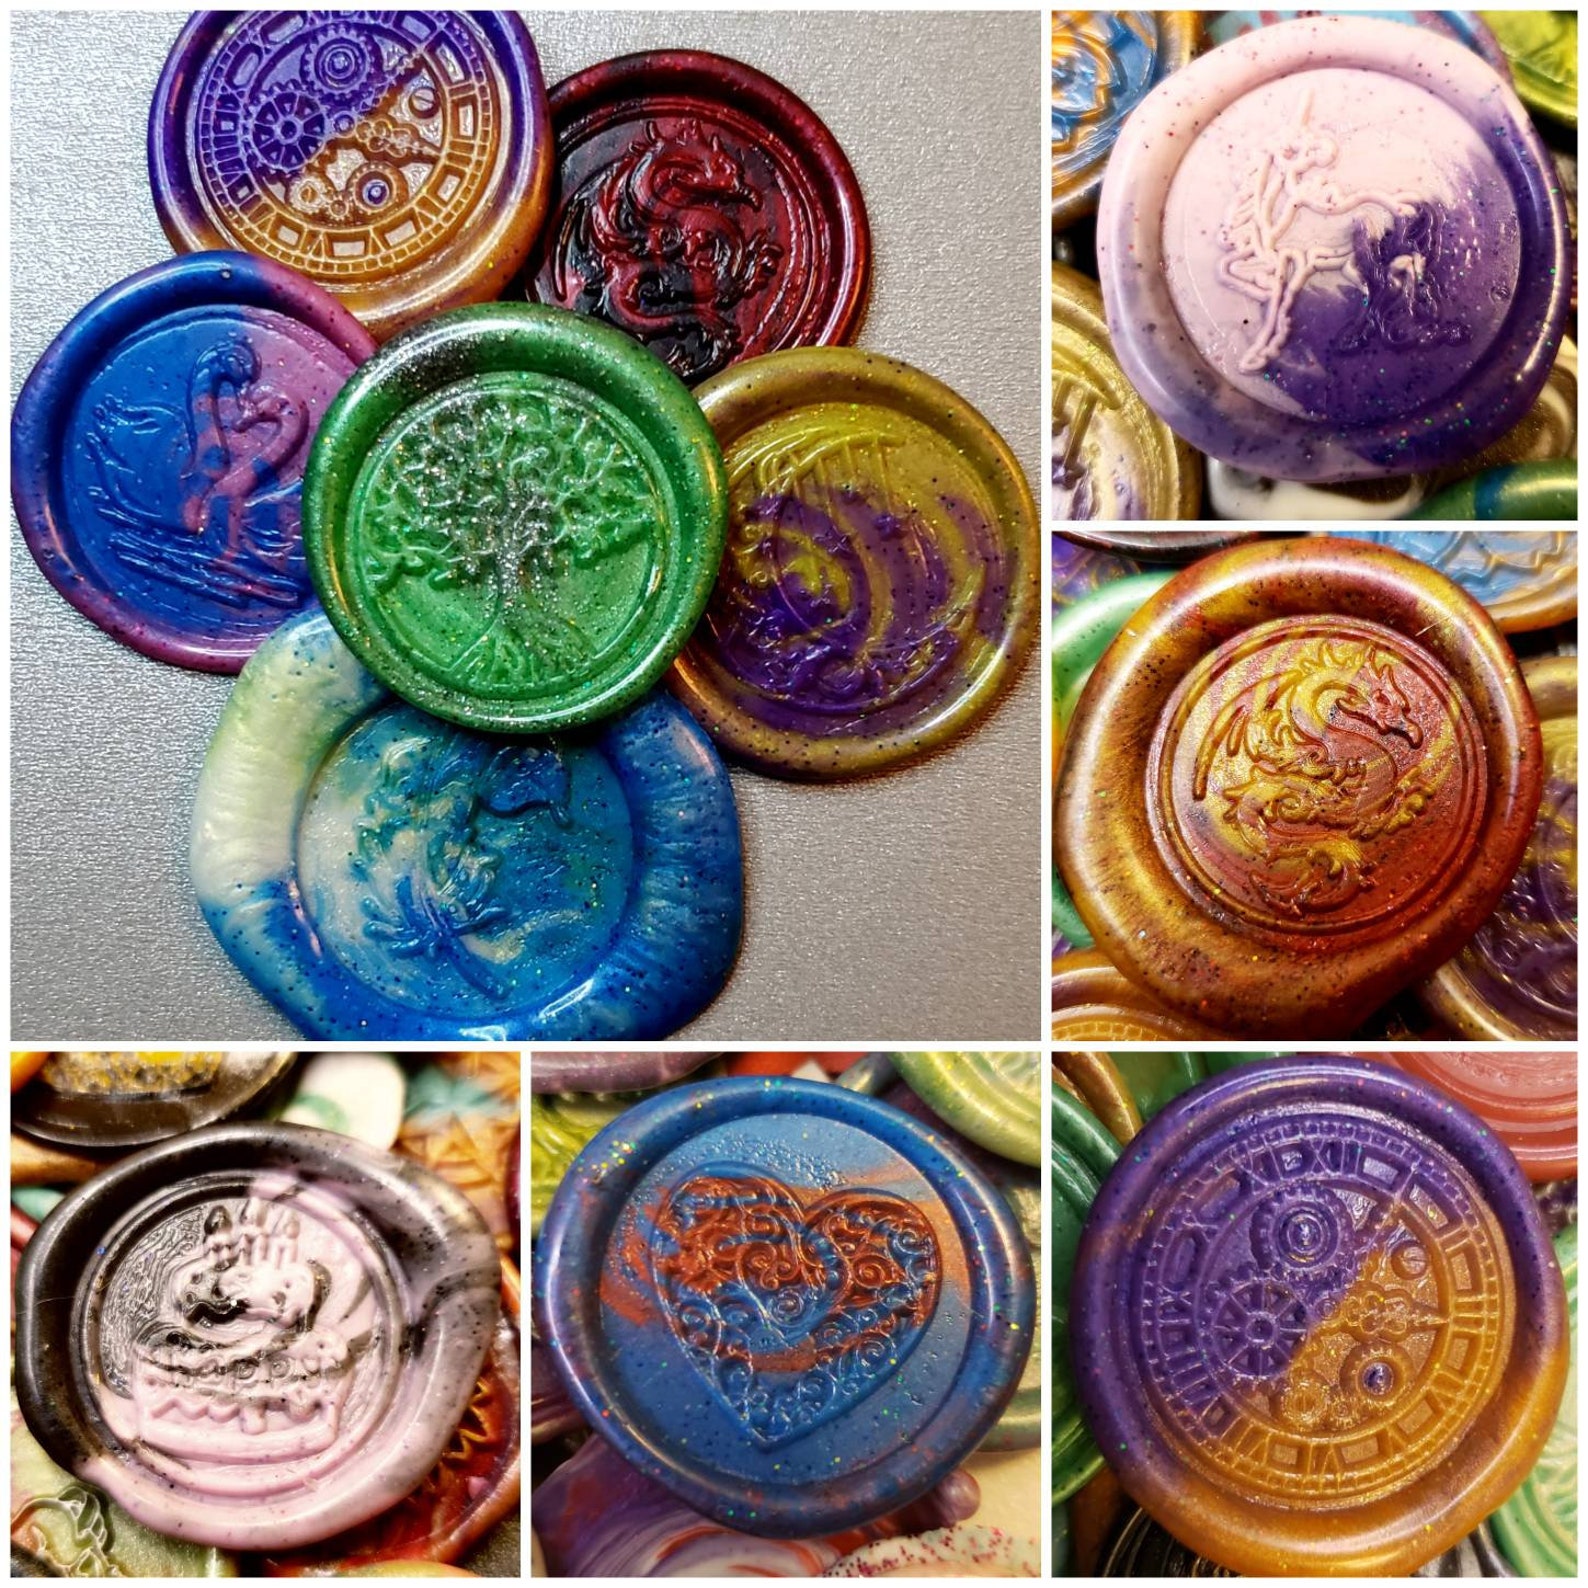
Homemade Sealing Wax - EASY! PICTURES!
Some argue that natural corks are better for drinking than those made of glass because they are less expensive and more durable. Furthermore, some argue that synthetic corks can release harmful chemicals when opened, which is why some winemakers are turning to natural cork materials. There are numerous factors to consider when making wine, but each person’s preference determines the best wine to use.
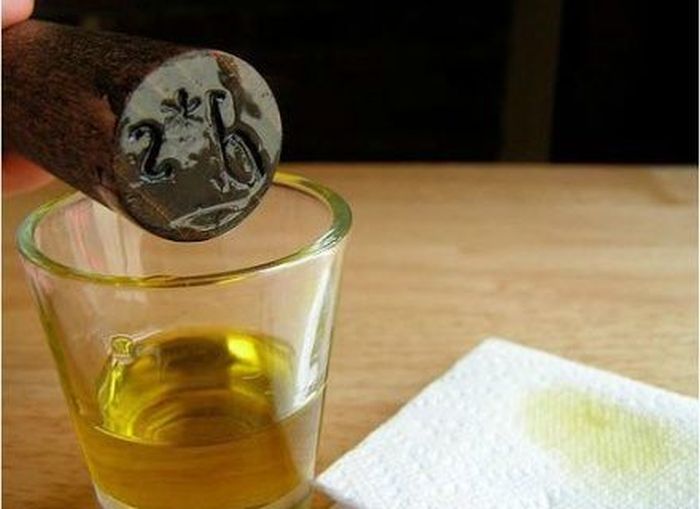
If your stamp gets too hot, the wax won't cool down fast enough. So how do you determine if the wax is in a low enough temperature that is good to be stamped? I generally tell my clients to look at its consistency and bubbles!
How to make a wax seal with a crayon
If you want to make a wax seal stamp that does the work and still doesn't take much to make, then this is your best bet as it breaks down the process for you. In the Middle Ages, it was used to create a seal of authenticity for letters and documents, as well as a symbol of provenance. Shellac, an eco-friendly material, is similar to sealing wax for wine bottles, but it is more valuable. Shellac is made up of natural materials that can be heated and molded. Natural resin is used to produce the fossilized taste of kelpac. It takes at least three years to seal the bottles of Papa Vince wine with shellac and allow the wine to develop a perfect maturation temperature.
If you feel it sticking, the wax hasn't thoroughly cooled. Give another 5-10 seconds to cool more until you can easily lift the stamp from the wax. To heat your sealing wax, insert two sticks into the chamber of the sealing wax gun. Then wait 5-7 minutes for the wax to reach the proper temperature. It is essential to give a test squeeze every couple of minutes, as waiting too long will overheat the wax.
The demo illustration video shows you how to make a wax seal step by step. You can use the candle or glue gun at home to melt the sealing wax. You can make your unique wax seal stamp from Sculpey clay, sealing wax, a metal spoon or glue gun, and other essential supplies. This project is pretty straightforward and guarantees loads of fun as you work. You can create more than one impression, so you have a variety to choose from at different times.

It should be about the same size as your stamp. Keep in mind that the glue will spread about ⅛-inch (0.32 centimeter) after you press the stamp into it. Find something to use as a handle for your stamp.
Next time I’ll try using a stove lighter with the button safely away from the fame, like these – Butane stove lighters. It took a little bit of experimenting, and I must admit I have a small burn from handling the lighter a little too carelessly. One even has a crest on it with the letter C, how fitting, (although it’s reversed in the impression).
In this article, we’ll take a quick look at the history of the wax seal and then explain how to create one for yourself. Nothing finishes a letter or envelope off quite like a wax seal — they are attractive to look at and show the recipient that you put time and thought into your letter. Pour the wax onto the surface your working on – either an Envelope, Card, Makers Mat etc. In the past, we had written a post about what kind of sealing wax you should choose and went through all the different types of wax in detail and all the pros and cons.
Sealing wax in low temperature has the consistency of thick liquid , and because it is not in a high boiling temperature, you will not be seeing the wax bubbling. When you see both signs, it’s time to go stamping. Learn how to make your wax seal stamp from materials you already have. The materials used in the video include buttons, bottle caps, an old lipstick tube, little cube blocks, and a few other scraps lying around. The process to make the stamp is very easy and this DIY explains three different methods you can use, so be sure to choose a method that suits your needs. If you'd like to learn ways to make your own, then you've come to the right place.


No comments:
Post a Comment